
Baby hand and footprints: when, what from, how to keep
9/1/2026
The cheapest keepsake from year one is also the most fragile. When a hand or footprint works, which material lasts and how to store it.
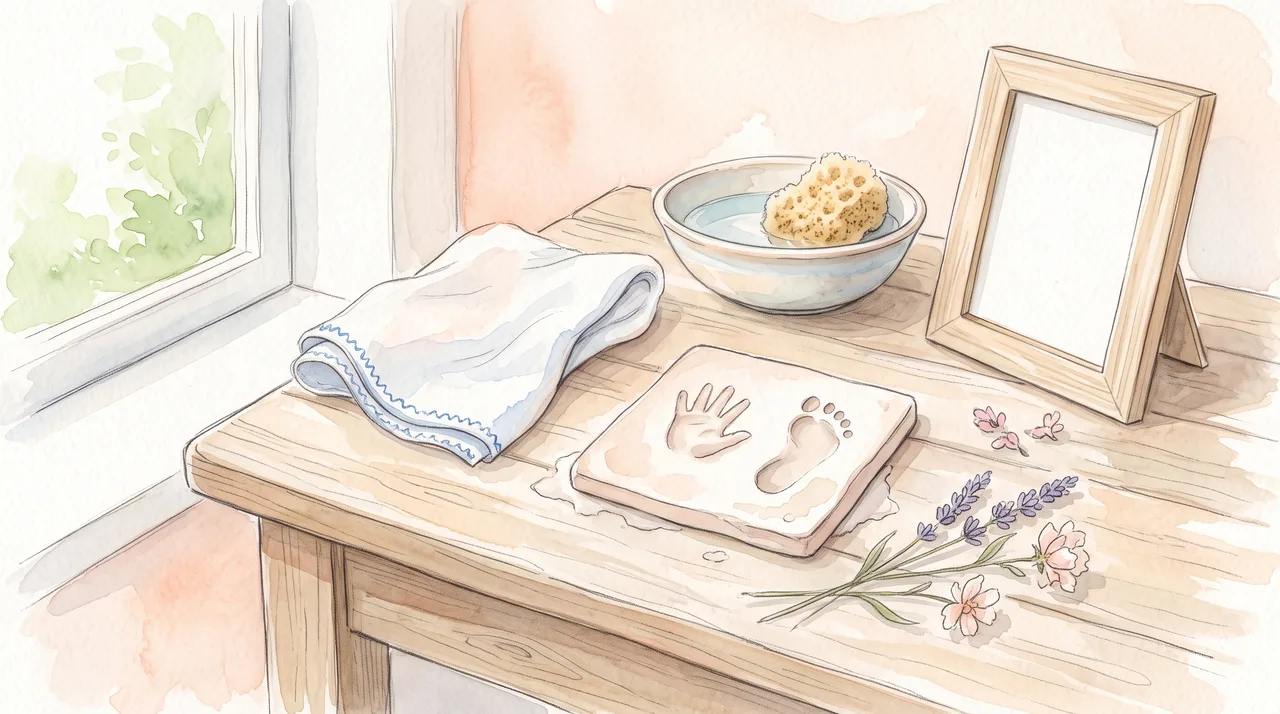
The best time is the first six months: a newborn's hand does clench into a fist, but the baby won't pull it away or grab at the material, and a foot resists least of all. Whether the keepsake survives, though, depends far more on the material and storage than on the printing itself — paint on acid-free paper and fired ceramic last for decades, plaster scuffs, air-dry clay cracks and salt dough crumbles first, because salt draws in moisture. Whatever you pick, plan for two attempts, label the print in pencil on the back straight away and store it flat, dry and out of direct sunlight.
When to do it: the first six months, then a pause, then calm again
Up to roughly the fifth or sixth month the grasp reflex is at work: whatever touches the palm, the hand closes around. It isn't defiance and you won't beat it by prising the fingers apart — the hand opens when you hold it by the wrist and run your thumb along the back from wrist to knuckles. It then opens by itself for exactly the second you need. A sleeping baby is the best collaborator, even if that isn't what it looks like.
A foot is easier, which is why it works more often with babies. Touching the sole does trigger the toes to curl too, but the surface is bigger and it prints even with the toes tucked in: press the heel down first, then roll the foot onto the surface, and never push on the pads of the toes.
The worst window runs from about six months to eighteen months. The child moves, reaches for the material and tastes whatever isn't being printed at that moment. Either put it off for a few months, or count on two adults — one holding and talking, one printing. After the third birthday it becomes a joint project, and it is worth it: next to a newborn print, the new hand becomes a measure, not just another picture on the wall.
What to make it from: six materials and where they'll be in a year
The difference between materials isn't in how the print looks on the first evening, but in what an ordinary home does to it: swings in humidity, dust and the grease from hands. The table runs from the most durable flat prints down to the relief ones.
| Material | What it's good at | Weak spot | One year on |
|---|---|---|---|
| Clean-touch ink pad (the print only appears on the paper) | Leaves the hand clean, the detail is sharp down to the palm lines | Flat only, no relief; the paper has to match the type of pad | Unchanged, as long as it doesn't hang in direct sun |
| Acrylic or poster paint on paper or canvas | Cheapest, you probably have it at home, works on fabric too | A thick layer cracks; the paint has to come off the hand at once | Holds up; cheap paper does yellow around the edges |
| Fired ceramic (at a pottery studio) | The only option that doesn't mind humidity at all | You have to leave the house and you get one attempt | Unchanged |
| Air-dry clay, print pressed into a disc | Relief with no mixing and no mould, fits straight into a frame | Dried too fast, it cracks from the edge inwards | Holds up if it dried slowly and lying flat |
| Plaster cast from an alginate mould | The real shape of the hand, fingernails included | Two-stage job, the mould survives a single cast | Scuffs against anything, picks up grease and goes grey |
| Salt dough | Costs pennies and you make it from what's in the kitchen | Salt pulls in moisture; and it must never be eaten | Most often softens, bulges or grows mould underneath |
Salt dough: why it crumbles a year after Christmas
Salt dough is the cheapest and least durable option, and that is exactly what makes it treacherous for a keepsake: it looks finished and falls apart at the point when nobody can repeat it — the hand has grown in the meantime.
The culprit is salt. It pulls water out of damp air, so dough that was biscuit-hard in December gives way in summer, bulges and grows mould underneath. Varnish doesn't fix it, it only seals the problem in: moisture gets in through the untreated back and then has no way out from under the varnish. If salt dough it is, then a finger thick at most, dried long and low — hours in the oven with the door ajar rather than half an hour on full — and stored somewhere dry. Not the attic, not the cellar, not the bathroom.
The second thing is safety. Salt at this concentration is not food. A dog that takes an ornament off a low branch of the tree swallows a dose of salt it would never meet in an ordinary day, and a toddler will put the dough in its mouth too — it's colourful, it smells of baking and it hangs low. A dried ornament therefore belongs out of reach and off the tree, filtered the same way as toys for the youngest children.
Plaster: one rule you can get badly burned on
A plaster cast is the only way to keep the real shape of the hand, fingernails and all. But it comes with a rule that internet tutorials often lose: a child's hand must never go into setting plaster. As it sets, plaster reacts with water and gives off heat; in a narrow cup clamped around the fingers it gets hotter than you expect, and at the same time it hardens around the hand. A burn and a trapped hand are both real possibilities here.
The right way is two-stage, and that's also why kits are sold the way they are. First you mix alginate — the seaweed-based moulding material you know from the dentist. It sets within a few minutes in lukewarm water and stays flexible, so you can pull the hand out with the fingers intact. Only then does plaster get poured into that mould. The mould survives one cast, then dries out and warps, so a second attempt means fresh alginate — which is why you should buy enough for two batches from the start.
The finished cast then dries for several more days and is soft: it scratches with a fingernail and partly dissolves in water, so it never gets washed. Brush the dust off with a soft brush. Greasy hands will grey it permanently and no amount of cleaning brings that back.
The routine that works first time
The most common cause of a ruined print isn't clumsiness, it's rushing the last three seconds. This order of steps solves that.
- 1Buy twice as muchA second batch of material or a spare sheet of paper. Treat the first attempt as the practice run — if it comes out, you have a spare for a sibling or for the other hand.
- 2Pick the moment, not the dayAfter a feed and when they're sleepy. A baby happily in its sleep, a toddler right after a snack. A hungry or tired child won't open its hand.
- 3Warm the hand upA cold hand clenches. Hold it in your palm for a while, then run your thumb along the back from wrist to knuckles — the fingers open by themselves.
- 4Get everything within reachMaterial or ink pad, a mat, a wet wipe and a dry cloth all lie side by side before you take the child on your lap.
- 5Press the back of the hand, the heel of the footWith a hand, press the back, not the fingers. With a foot, the heel first, then roll the sole down. Pressure on the toe pads triggers curling and you get a print with no tips.
- 6Lift straight upOne movement, straight upwards. Most prints are ruined at the lifting stage, when the hand slides sideways and smears the image.
- 7Wash first, photograph laterA wet wipe immediately, then soapy water. Dried acrylic comes off a child's skin harder than off anything else.
- 8Label the back in pencil and dry it flatAn ordinary pencil doesn't bleed or seep through. Cover the clay with a cloth so it dries slowly and doesn't crack from the edge; weigh the paper down at the corners and leave it in the shade.
What to write on the back
Years later what stings isn't how the print looks, but that nobody wrote down whose it is and when it was made. Ten years on you won't tell two siblings' hands apart. Write in pencil, on the back, straight away — and put down more than the date: write the circumstance, because that can't be worked out from a photo. The same rule goes for a dedication in a book: a specific detail outlives a pretty sentence.
How to keep it from crumbling within a year
Storage decides durability more than the material does. Even well-fired ceramic won't survive a bathroom — it just takes longer to happen.
- A dry room, not the attic and not the cellarThe enemy isn't damp itself but the swings in it: the material soaks up moisture, dries out, soaks up again, and after a few cycles it cracks. An interior living-room wall is a better home for it than any box under the roof.
- Shade, not the windowsillDirect sun fades paint and ink faster than you'd expect, and unevenly — it leaves a lighter rectangle behind. A frame with UV-filtering glass slows that down; it doesn't stop it.
- The print must not touch the glassMoisture condenses under glass and the paper sticks to it; separating them afterwards only works with damage. Use a mount or a spacer frame that holds the glass off the print.
- Acid-free paper and photo cornersAcidic board and sticky tape eat through paper as yellowing around the edges, usually within two to three years. A print goes into an album with photo corners, not glue.
- Store relief pieces flat and in cottonPlaster and air-dry clay are brittle under tension — hung on a nail, they crack from the hole. In a box, leave them lying down, wrapped in cotton cloth. Not plastic bags: water condenses inside them.
- Don't wash it, brush itPlaster partly dissolves in water and the surface goes rough after washing. Take the dust off with a soft brush and don't try to tackle grease at all — hold the cast by the edges.
- Photograph it todayThe material ages, a file doesn't. Photograph the print in flat daylight against a neutral background, with a ruler beside it for scale, and save it in two different places. This is the one step you can still take with a print that has already cracked.
A backup that can't get damp
A print is by its nature a one-off. If it crumbles, there is nothing to make a second one from — the hand that made it no longer exists. That is exactly why it pays to have, alongside the physical keepsake, one that can be produced again: a photograph, a full-size scan, a print from that scan.
The same reasoning is behind a personalized children's book. It is created from a single uploaded photo, so the hero looks like that particular child, and the name is set into the story in the correct grammatical forms, because the text is written directly in the given language. It is a one-off purchase with no subscription — and if something happens to the paper, the source remains. A print shows how small the child was; a book shows what they were like back then. What is worth keeping from the first year and what wears out before anyone notices is covered in the article on keepsake gifts for a first birthday; how such a book comes about is described in a personalized book step by step.
Sources
- Palmar grasp reflex (Wikipedia) — The palmar grasp reflex and the age at which it fades — why a newborn's hand clenches and when that stops.
- Plaster (Wikipedia) — Plaster sets in an exothermic reaction with water; hence the warning against casting body parts directly in setting plaster.
- Plaster of Paris (Czech Wikipedia) — The properties of plaster: softness and partial solubility in water, which are why a cast never gets washed.
- ASPCA: People Foods to Avoid Feeding Your Pets — Salt among the substances dangerous to dogs and cats — the reason salt dough ornaments don't belong within reach of animals.