
First-Year Photo Book: Turning Thousands of Photos into One
9/3/2026 · The Hero of the Book Team
Choosing by month, photos per page, phone resolution, and captions to borrow. How to actually finish your baby's first-year photo book.
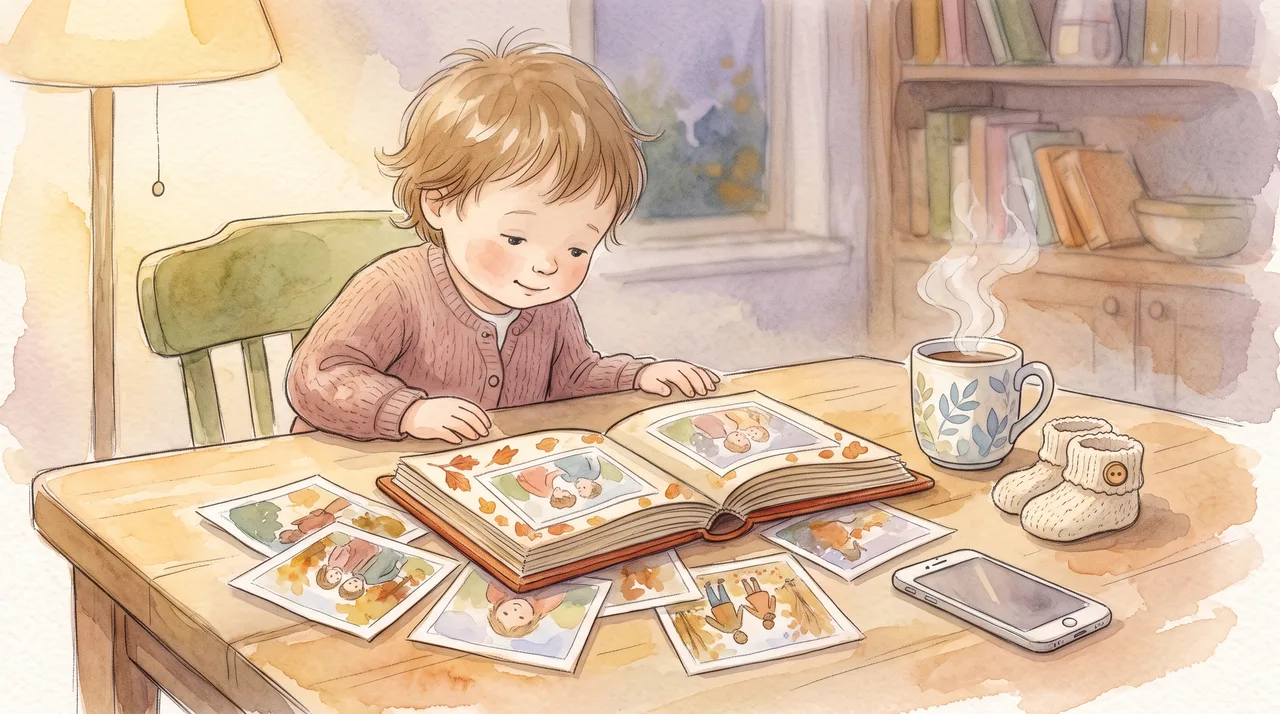
A first-year photo book comes together the moment you stop hunting for the best photos and start choosing month by month: go through your camera roll one month at a time and pick five to eight shots from each. That gives you about seventy photos across twelve spreads, a one-weekend project instead of a year of putting it off. The rest is technique: download the originals (not copies forwarded in a chat), write your child's age next to each photo, and send it to print.
Why first-year photos rarely turn into a book
The problem isn't too few photos, it's too many — and no rule for when the choosing ends. "I'll pick the best ones" has no finish line: for every photo there's a better one a little further on, and meanwhile the camera roll grows faster than you can sort it. That's why most families stop at a cloud backup and put the photo book off until they have time. That time never comes.
A month is a boundary that ends on its own. Twelve months means twelve small decisions instead of one huge one, and the result gets a rhythm you can't create any other way: your child visibly grows across the pages, because the pages follow time, not how well each photo turned out.
The second thing worth giving up right at the start is completeness. A photo book isn't an archive. The archive is the backup in the cloud and on a drive that nobody looks at anyway. A book is a selection you can hold in your hands, and its value grows with every photo you leave out.
Choosing month by month: a one-weekend plan
- 1Create twelve albums by age, not by calendarThe first year starts on the day of birth, not in January. Name the albums "Month 1" through "Month 12" and add the date range to each name — then you can filter your camera roll by date and move photos straight in.
- 2Give each month ten minutes and a timerA time limit does what nothing else does when choosing photos: it ends the process. A shot you didn't find within ten minutes for that month is one you wouldn't miss in the finished book anyway.
- 3Choose by role, not by qualityFrom each month, pick one milestone photo (first smile, sitting up, first bite, first step), one completely ordinary one (stroller, bath time, lazy morning in bed), one detail (a hand gripping a finger, wisps of hair, a sock), one with a parent in the frame, and one with someone else — a sibling, Grandma, the dog. A year later, that kind of selection is worth something twelve portraits never will be.
- 4Pick one from each burst and close the restYour phone shoots in bursts, so ten nearly identical shots are really one shot. When you can't decide, take the one where your child is looking somewhere other than the camera — posed shots all look the same side by side in a book.
- 5Add a photo of the parent who was taking picturesIn the first year, one parent is almost always missing because they were holding the phone. Go through photos from the grandparents and family group chats, and ask for them again as files, not as images in a message.
- 6Write the age and one sentence for every photo you chooseWrite it now, while you still remember, not in the editor a month from now. A simple notes file is enough, with the photo name and its sentence on each line.
- 7Download the originals into one folder and number themNames like 03-bath.jpg keep the order in every editor, because files are sorted alphabetically. Upload that folder to the photo book editor and don't go back to choosing.
Phone photos and printing: when resolution is a problem
Printing works with a density of around 300 dots per inch. A photo from an ordinary phone has about twelve megapixels, roughly 4000 × 3000 pixels — at 300 DPI that's an image more than 13 inches wide, so it's plenty for a full page or even a spread. The problem isn't the camera, it's the path the photo took to get to you.
Shrunken copies get made anywhere data is being saved. A photo sent in a message gets re-encoded and downsized, a screenshot only has the resolution of the display, digital zoom is just a crop from the middle of the frame, and backup apps often have a storage-saver mode that shrinks photos before uploading them. In that last case, the original exists only on the phone, not in the cloud — an unpleasant discovery when that phone is long gone.
In practice, this means three things. Download photos in their original quality, straight from your photo library or cloud, not from a conversation. Ask relatives to send photos as file attachments. And when the editor shows a low-resolution warning on a photo, don't just click it away — in print you'll see exactly what it's warning you about. Apple phones also save photos in HEIC format; editors and printers reliably accept JPEG, so if files won't upload, export them in the "Most Compatible" format.
Six editor decisions that make or break the book
| Decision | What to choose | Why |
|---|---|---|
| A photo across the whole spread | A landscape or a detail, never a face | The spine runs down the middle of the spread — a face that lands on it gets bent or disappears into the binding. |
| Photos per page | One to three, no more than six per spread | Nine thumbnails is a contact sheet. Nobody looks at them in a book for more than a second. |
| Binding | Lay-flat, if you're designing spreads | A standard glued binding closes on its own near the spine, and part of the image stays hidden. |
| Margins | A few millimeters of room around heads | The printer trims with a tolerance; anything tight against the edge may lose a sliver. |
| Paper finish | Matte, if kids will be handling the book | Glossy has more contrast, but it holds fingerprints and reflects lamplight while you're looking through it. |
| Page backgrounds | White, or one light color for the whole book | A different color on every page pulls attention away from the photos and makes the book look like a template. |
Captions to borrow: what to write under a photo
A caption shouldn't describe what's in the photo. It should add what you can't see — and in a few years, you'll be the only ones who still know it. Five formats that work:
What a photo book can't do, and what to pair it with
A photo book is a view from the outside: it shows what your child looked like, not how they felt. In the early years, it's mostly the parents who enjoy it — children reliably recognize themselves in photos only around age two, and they start asking what happened behind a photo even later.
That's why first-year keepsakes usually come in pairs: something that preserves how they looked, and something that preserves a thought. Photos go well with a handprint and footprint, because it captures a size a photo can't convey, and a letter to the future that you write once and that gets opened many years later. More ideas are in our roundup of first birthday keepsake gifts.
Once your child gets a little older, looking at themselves won't be enough — they'll want to be inside the story. That's where the photo book ends and a personalized book begins: a story across 12 illustrated spreads with your child as the hero. The illustrations are created from a single uploaded photo, so the hero looks just like them, and the finished e-book is usually ready within 15 minutes. It doesn't compete with the photo book; it does something different: the photo book keeps what was, the story imagines what could be.
Final check before sending it to print
- Preview on a big screen, not on your phoneEven a blurry photo looks fine in a tiny preview. Go through the finished preview on a laptop, page by page, ideally the next day.
- Names, dates, and spelling in the captionsA typo in the birth date is the one mistake absolutely everyone who picks up the book will notice — and it can't be fixed after printing.
- Low-resolution warningsFix them by swapping the photo or by shrinking it to half a page in the layout. A warning you missed will show in the finished book.
- Order extra copies right awayGrandparents almost always want their own copy. A second copy in the same order usually costs less than a separate reprint later, when you pay for shipping again.
- Back up the photo folder and the finished book filePrint files at the printer disappear after a while, along with your account. The rule of three copies on two different types of media, one of them off-site, applies to family photos too.
Sources
- Dots per inch (DPI) — print dot density — An explanation of how file resolution translates into print size.
- JPEG — lossy photo compression — Why every additional save and forward reduces a photo's quality.
- HEIF / HEIC — the iPhone photo format — The format and its compatibility with editors and print services.
- Backups and the 3-2-1 rule — Three copies of your data on two types of media, one off-site.